Introduction
In this tutorial, we will learn how to display a moving square on a 0.96-inch OLED display using a Raspberry Pi Pico with MicroPython. This project is a great introduction to working with graphical displays and basic animations using the Pico.
Requirements
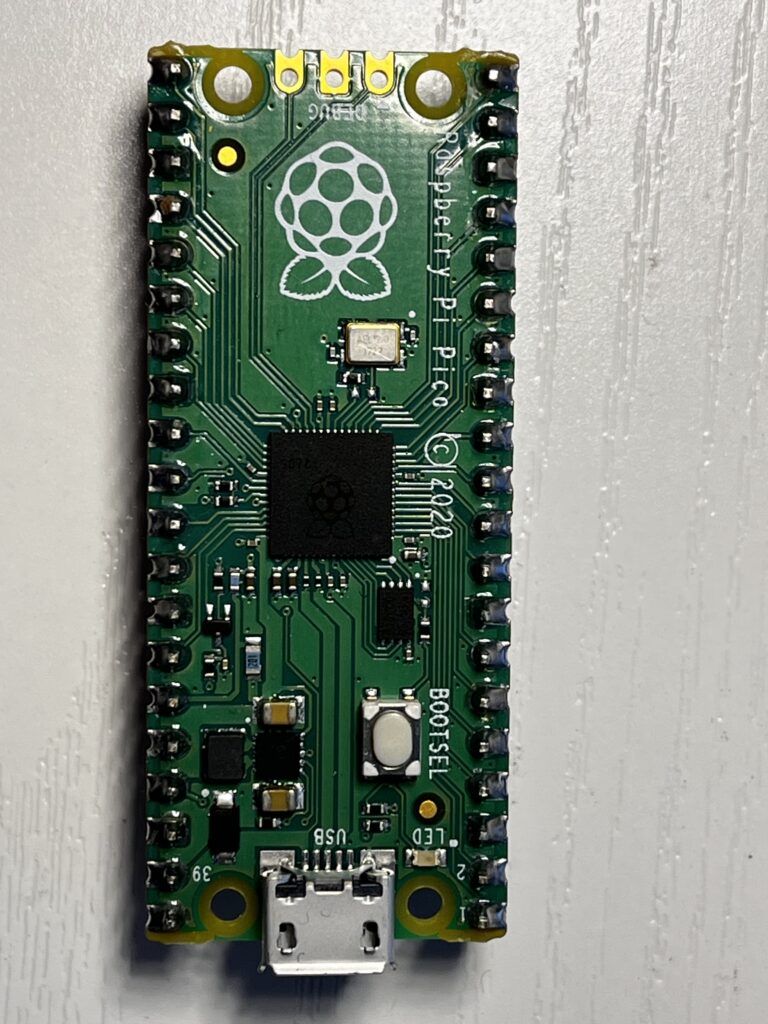
- Raspberry Pi Pico
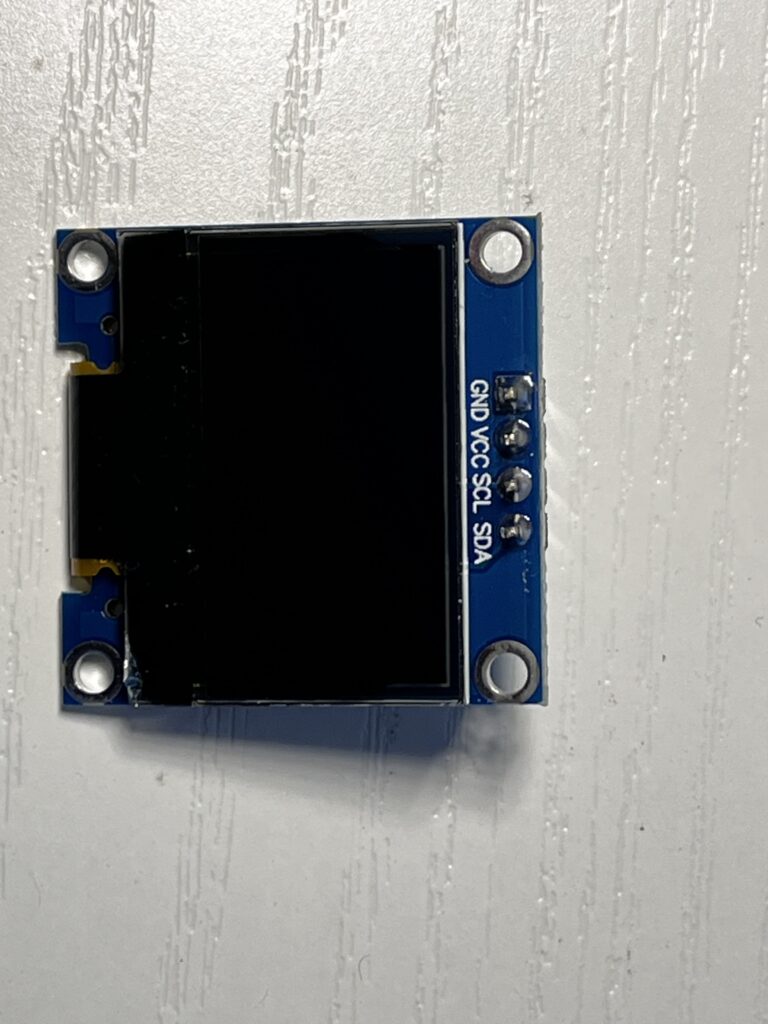
- 0.96-inch OLED display (SSD1306, I2C interface)
- Breadboard and jumper wires
- MicroPython installed on Raspberry Pi Pico *
- Thonny IDE (or any MicroPython-compatible editor) *
Wiring the OLED Display to Raspberry Pi Pico
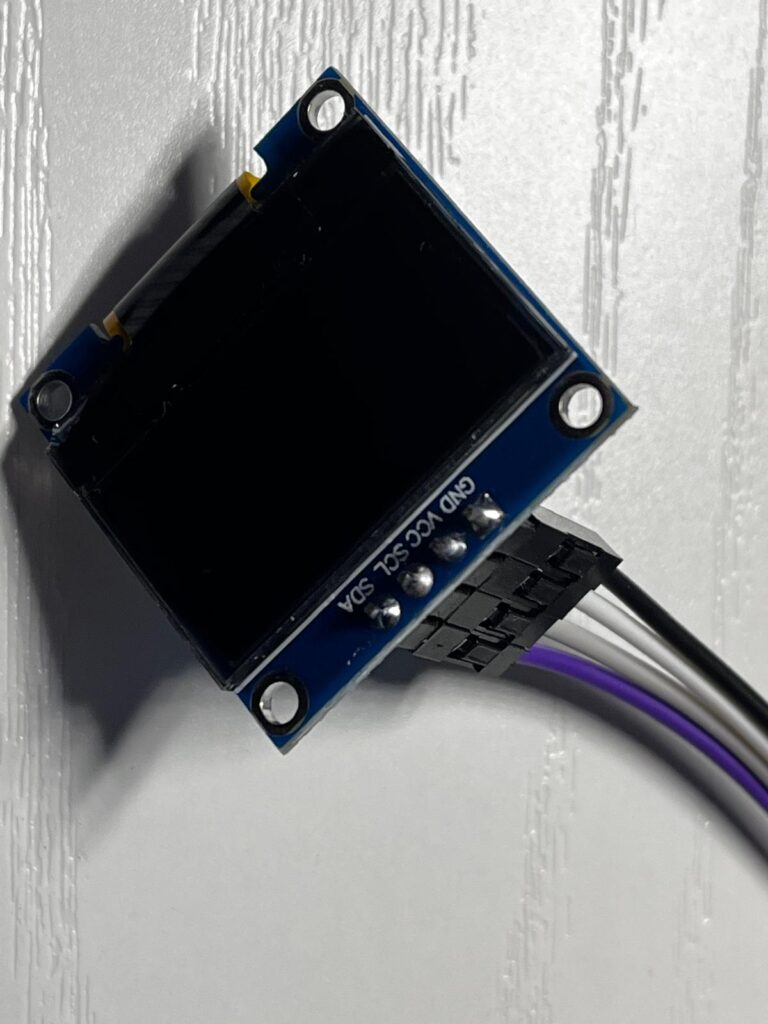
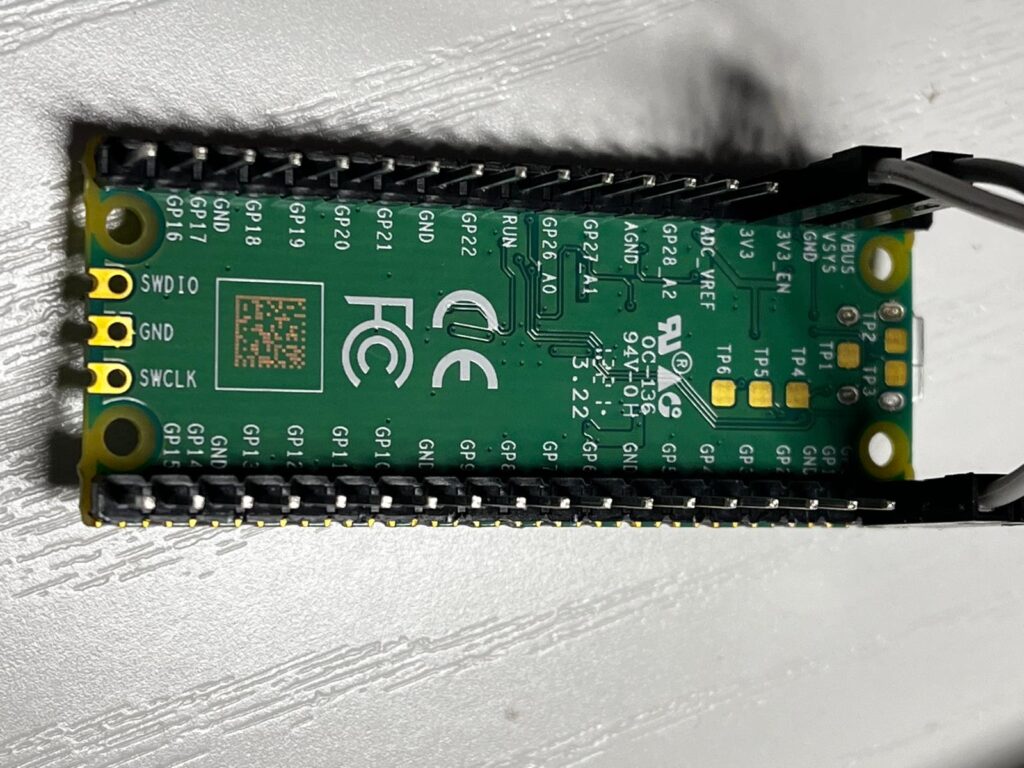
The SSD1306 OLED display communicates with the Raspberry Pi Pico using I2C. Connect it as follows:
| OLED Display Pin | Raspberry Pi Pico Pin | Wire Color (picture) |
|---|---|---|
| VCC | 3.3V (Pin 36) | White |
| GND | GND (Pin 38) | Black |
| SDA | GP0 (Pin 1) | Purple |
| SCL | GP1 (Pin 2) | Gray |
Installing Required Libraries
Before writing the code, we need to install the SSD1306 library for MicroPython. If you don’t have it yet, follow these steps:
- Download
ssd1306.pyfrom MicroPython GitHub. - Open Thonny IDE.
- Connect your Raspberry Pi Pico.
- Navigate to File > Save As, and upload
ssd1306.pyto the Pico.
Writing the Code
Now, let’s write the Python script to create a moving square animation.
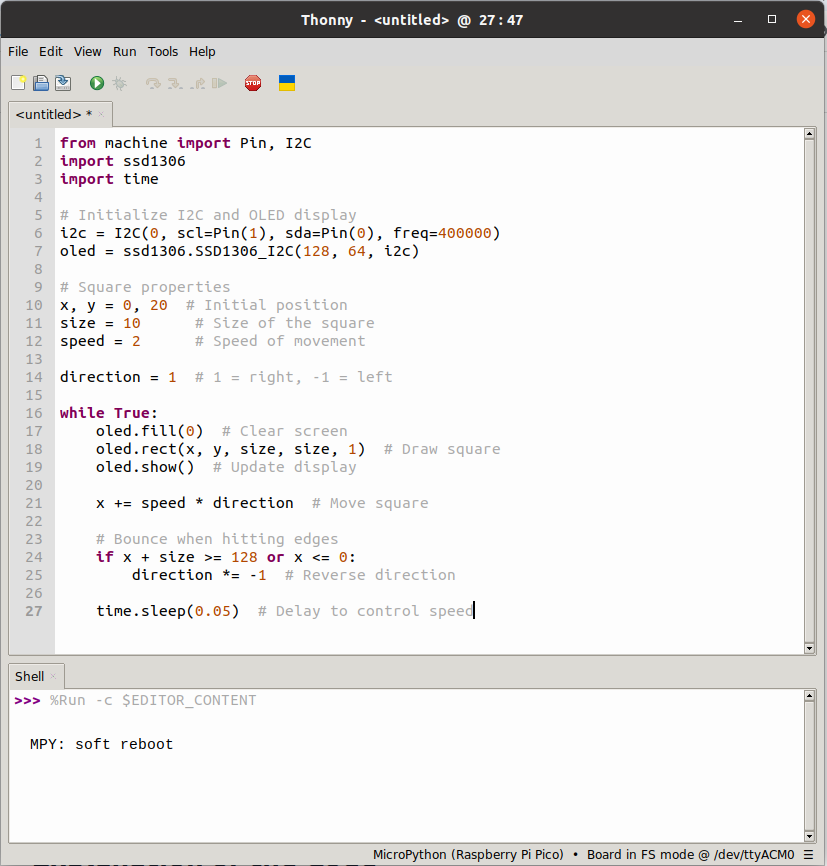
from machine import Pin, I2C
import ssd1306
import time

# Initialize I2C and OLED display
i2c = I2C(0, scl=Pin(1), sda=Pin(0), freq=400000)
oled = ssd1306.SSD1306_I2C(128, 64, i2c)

# Square properties
x, y = 0, 20  # Initial position
size = 10      # Size of the square
speed = 2      # Speed of movement

direction = 1  # 1 = right, -1 = left

while True:
    oled.fill(0)  # Clear screen
    oled.rect(x, y, size, size, 1)  # Draw square
    oled.show()  # Update display

    x += speed * direction  # Move square

    # Bounce when hitting edges
    if x + size >= 128 or x <= 0:
        direction *= -1  # Reverse direction

    time.sleep(0.05)  # Delay to control speed
Explanation of the Code
- Initialize the I2C connection to communicate with the OLED display.
- Set up the display dimensions (128×64 pixels).
- Define the square’s properties, including its initial position, size, and movement speed.
- Create a loop that:
- Clears the display.
- Draws the square at its current position.
- Moves the square left and right.
- Bounces when it reaches the edges.
- Updates the display with a short delay for smooth animation.
Running the Code
- Copy the script into Thonny IDE.
- Save it as
main.pyon the Raspberry Pi Pico. - Run the script, and you should see the square moving back and forth on the OLED screen.
Conclusion
You have successfully created a simple animation using the Raspberry Pi Pico and 0.96-inch OLED display! This project helps you understand how to control graphics and animations with MicroPython. You can extend this project by adding user controls with buttons or creating more complex animations.
Happy coding!