If you’re starting with the Raspberry Pi Pico for projects like creating a cold wallet or any other microcontroller-based project, one of the first things you’ll need to do is set up your development environment. This involves installing Thonny IDE and MicroPython on your Raspberry Pi Pico.
In this article, we’ll guide you through the steps to get started with Thonny and MicroPython on the Raspberry Pi Pico.
Prerequisites
Before you begin, ensure you have the following:
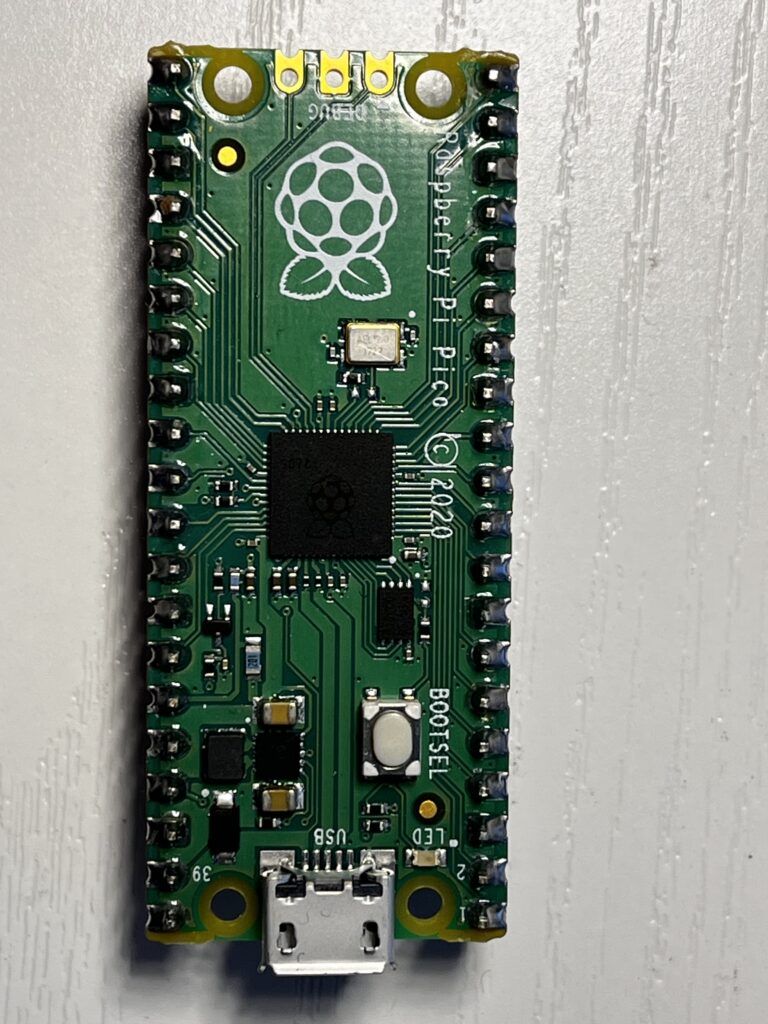
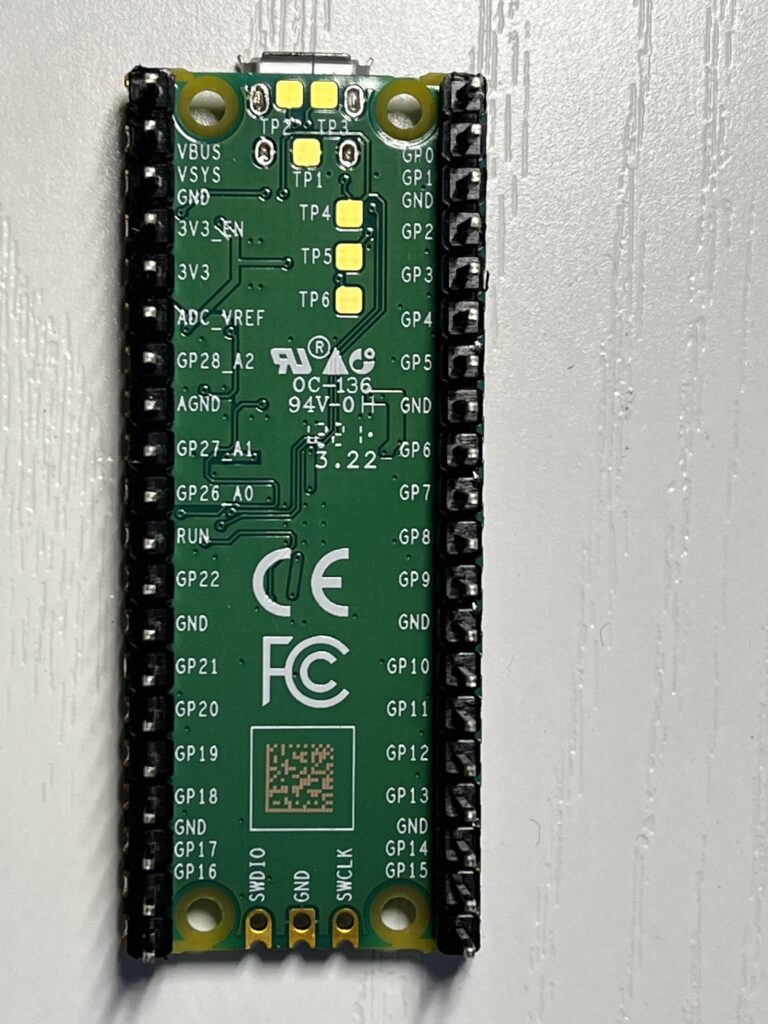
- Raspberry Pi Pico
- Micro-USB cable to connect the Pico to your computer
- A computer running Windows, macOS, or Linux
Step 1: Install Thonny IDE
Thonny is a Python IDE that is well-suited for beginners and is widely used for programming the Raspberry Pi Pico. Follow these steps to install Thonny on your computer:
- Download Thonny:
- Go to the official Thonny website and download the version of Thonny suitable for your operating system (Windows, macOS, or Linux).
- Install Thonny:
- Follow the installation instructions for your operating system. For most systems, it’s a simple process of downloading and running the installer.
- Launch Thonny:
- Once installed, open Thonny IDE. It provides a clean and simple interface for writing and running Python code.
Step 2: Install MicroPython on Raspberry Pi Pico
MicroPython is a lean and efficient implementation of Python 3 for microcontrollers like the Raspberry Pi Pico. Here’s how you can install it on your Pico:
- Put Raspberry Pi Pico into Bootloader Mode:
- To load MicroPython onto the Pico, connect the Pico to your computer while holding down the BOOTSEL button.
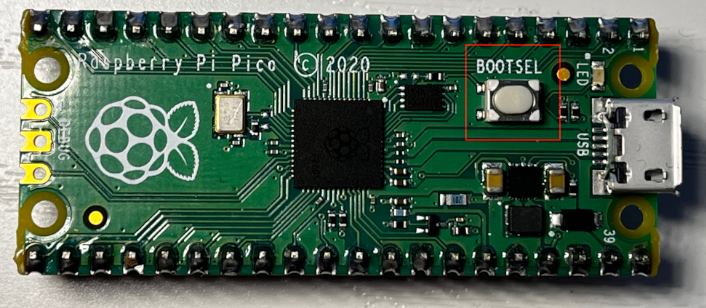
- Once connected, release the BOOTSEL button. The Pico should now appear as a mass storage device on your computer.
- Download MicroPython Firmware:
- Go to the official MicroPython website and download the latest firmware for the Raspberry Pi Pico.
- The firmware file should have a
.uf2extension.
- Drag and Drop the Firmware:
- Once you’ve downloaded the firmware, drag and drop the
.uf2file onto the Pico’s drive (the one that appeared after putting the Pico into bootloader mode). - The Pico will automatically reboot, and MicroPython will be installed.
- Once you’ve downloaded the firmware, drag and drop the
Step 3: Configure Thonny to Work with Raspberry Pi Pico
Now that MicroPython is installed on your Raspberry Pi Pico, it’s time to configure Thonny to communicate with the Pico.
- Open Thonny IDE:
- Launch Thonny if it’s not already open.
- Select Interpreter:
- Go to the Run menu in Thonny and select Select Interpreter.
- Choose MicroPython (Raspberry Pi Pico) from the list of available interpreters.
- Select Port:
- In the same window, Thonny should automatically detect the correct port where your Raspberry Pi Pico is connected. Select the correct port if necessary.
- Test the Connection:
- Once configured, you can test the connection by writing a simple script. In Thonny, type the following code:
print("Hello, Raspberry Pi Pico!")- Click the Run button or press F5 to run the code. If everything is set up correctly, you should see the output in the Thonny shell:
Hello, Raspberry Pi Pico!
Step 4: Start Writing MicroPython Code
Now that you’ve set up MicroPython on the Raspberry Pi Pico, you’re ready to start writing your own code for your projects. You can use Thonny to write and upload Python scripts to your Pico and interact with sensors, displays, and other components.
Create a new file: File -> New
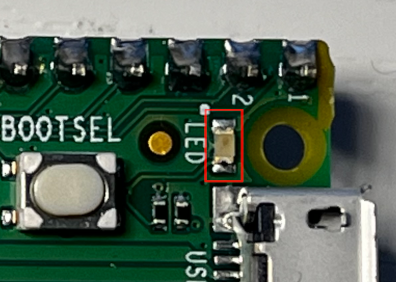
Then write your first code. Here’s a simple example to blink the built-in LED on the Pico:
pythonCopyEditimport machine
import time

led = machine.Pin(25, machine.Pin.OUT)

while True:
    led.value(1)  # Turn on the LED
    time.sleep(1)
    led.value(0)  # Turn off the LED
    time.sleep(1)
This code will blink the onboard LED once every second.
Conclusion
That’s it! You’ve successfully set up Thonny IDE and MicroPython on your Raspberry Pi Pico. You’re now ready to start programming the Pico for your projects, whether it’s creating a cold wallet, controlling hardware, or exploring other IoT projects.
Remember, you can always find additional tutorials and resources on the official MicroPython website and the Raspberry Pi Pico documentation.
Happy coding!